SPECIFICATIONS:
Overall Length 109.5" (2781 mm)
Maximum Body Width 25.75" (654 mm)
Ground Clearance 3.75-4.75" (95-121 mm) *Adjustable*
Overall Height 35-36" (889-914 mm)
Wheelbase 51" (1295 mm)
Track Width 26" (660 mm)
Weight 58.4 Lbs. (26.5 Kg)
LIST OF STANDARD EQUIPMENT:
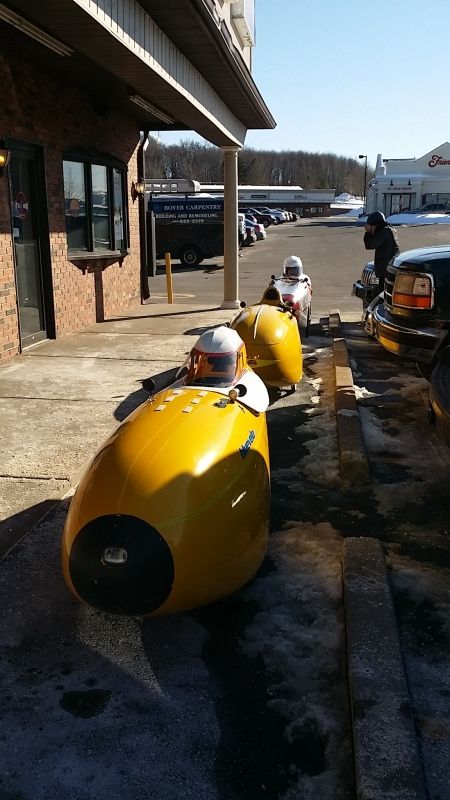
Body Shell - Vacuum Infused Carbon Fibre Structural Monocoque
Front and Rear Quick Release Access Hatches
Clear Polycarbonate Open Cockpit Wind Shield
Front Suspension - Velomobiel.nl Struts
Rear Suspension - Single Pivot Swing-arm with Risse Genesis Air/Oil Damper
Front Brakes - Sturmey Archer 90mm Drums
Front Wheels/Tires - 20" (406)/Vredestein F-Lite 20"x2"
Rear Wheel/Tire - 26" (559)/Choice of Various Schwalbe up to 2.4" wide
Front Wheel Covers - Carbon
Steering - Dual Side Stick
Seat - Aluminum Frame with Mesh Fabric or Carbon Hard Shell
Drivetrain - (Front) Triple Ring Crank 24/36/50
- (Rear) 3x10 Sturmey Archer CS-RK3 (3 speed hub) with 11-36 Cassette
Gear Inch Range - 13-158
Shifters - Bar-ends and 3 speed twist grip
Cables - Jagwire
Idlers - Dual TerraCycle Elite Power 23 Tooth
Mirrors - Dual (Left & Right)
Marvelo Web site